
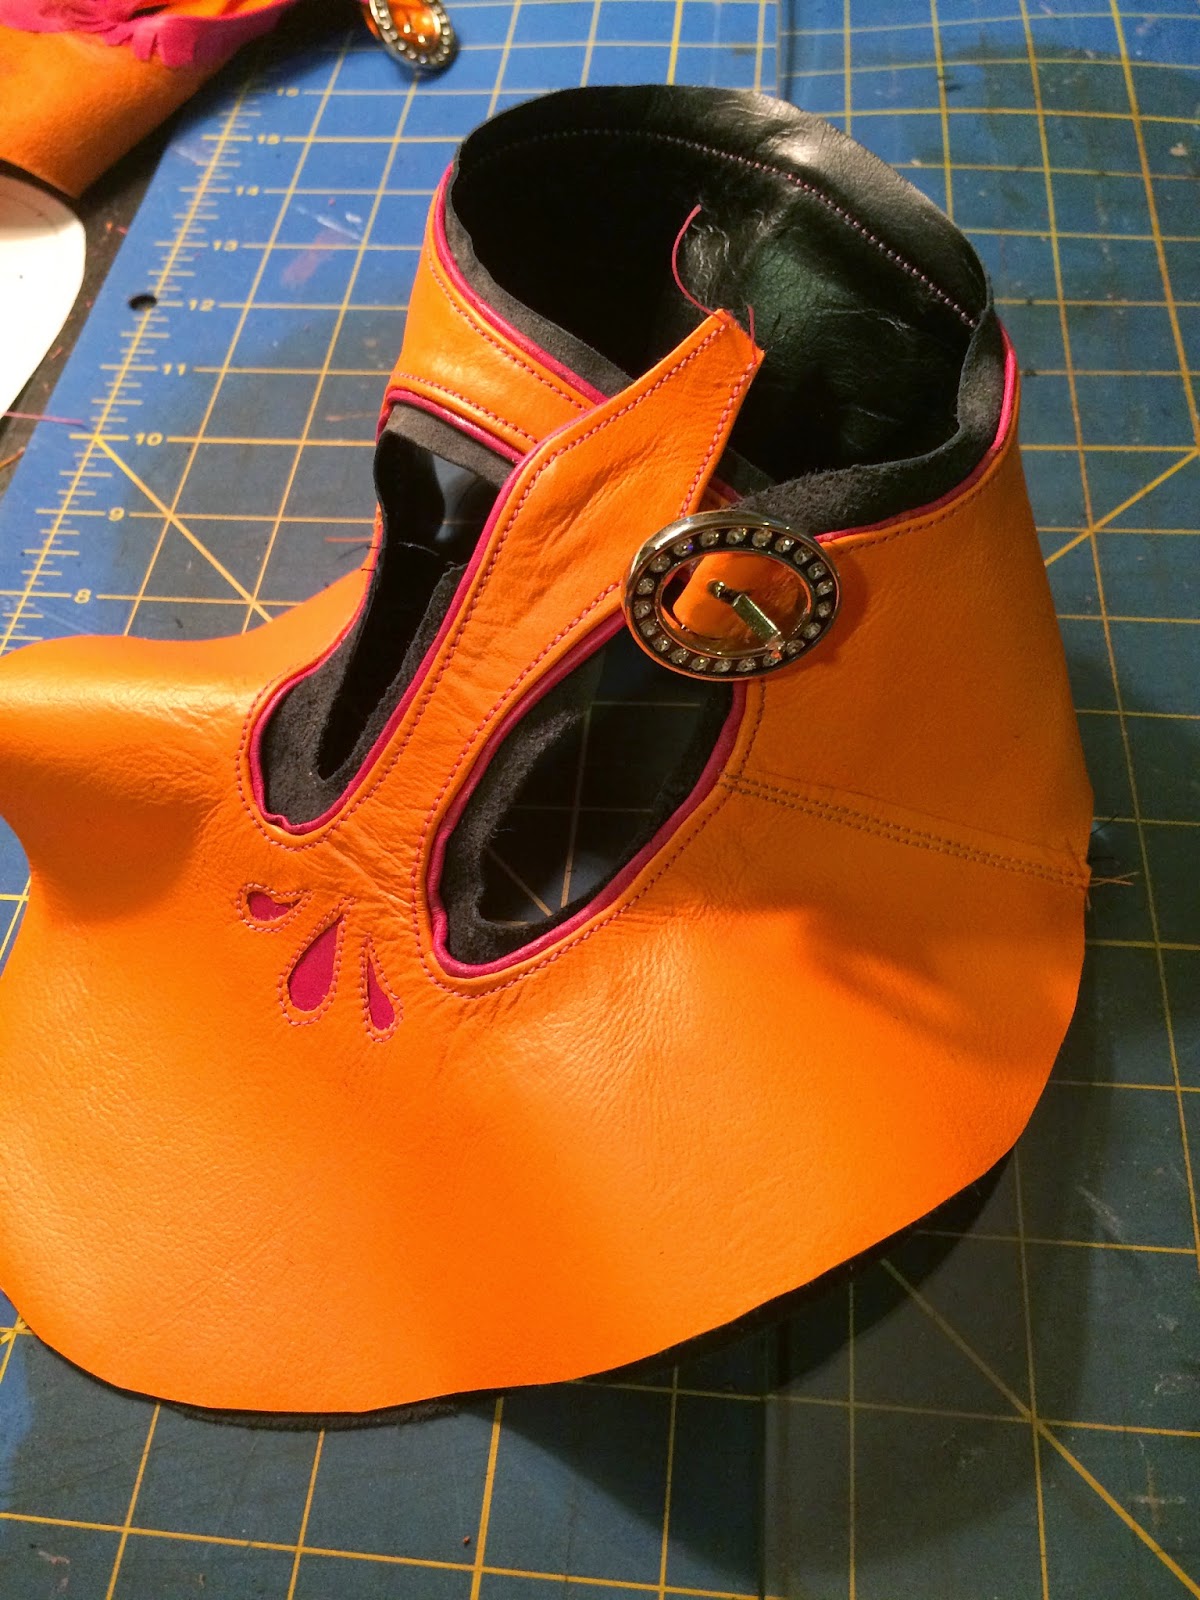
I've had these in my brain since shoe class over a year ago. High heeled, orange t-straps with sparkly buckles and hot pink trim. These shoes are so totally me.
Here's the leather (kangaroo), the pattern on the taped last, the buckles, and the heels:

The pattern wanted to have a seam on both the inside and the outside of the shoe, to accommodate the strap. I didn't want the strap to be just added on - I wanted it to be integral.


For the peek-a-boo detailing on the toe, I cut out the shapes, skived them very carefully, and added a piece of the hot pink behind. Here you can see the skived edges all the way around, too.


For the leather to adhere to the heel, you have to rough up the plastic with some sandpaper before glueing.


Seams glued, then stitched.


Next, decorative top stitching around the inlay, with fuschia thread.

I wanted a really clean edge line, so I both turned over the top edge, and used piping. The red you're seeing along the turned edge is top line tape, which stabilizes the top edge of the shoe, so it doesn't stretch out.

After the piping was made, it was glued into the edges, and the buckles were put on.


Stitching in the lining - this gave me the decorative dark pink line along the edges as well. The parts leading up to the buckle on both sides had to be hand-stitched, because I couldn't get the sewing machine in there. I also had to hand sew the turnover of the middle strap, so it was properly tacked down.

Insoles were done the same old way, and I tacked 1/4" of fun foam onto the bottom of the last, so I'd have space for a comfort insole.
And let the lasting begin!

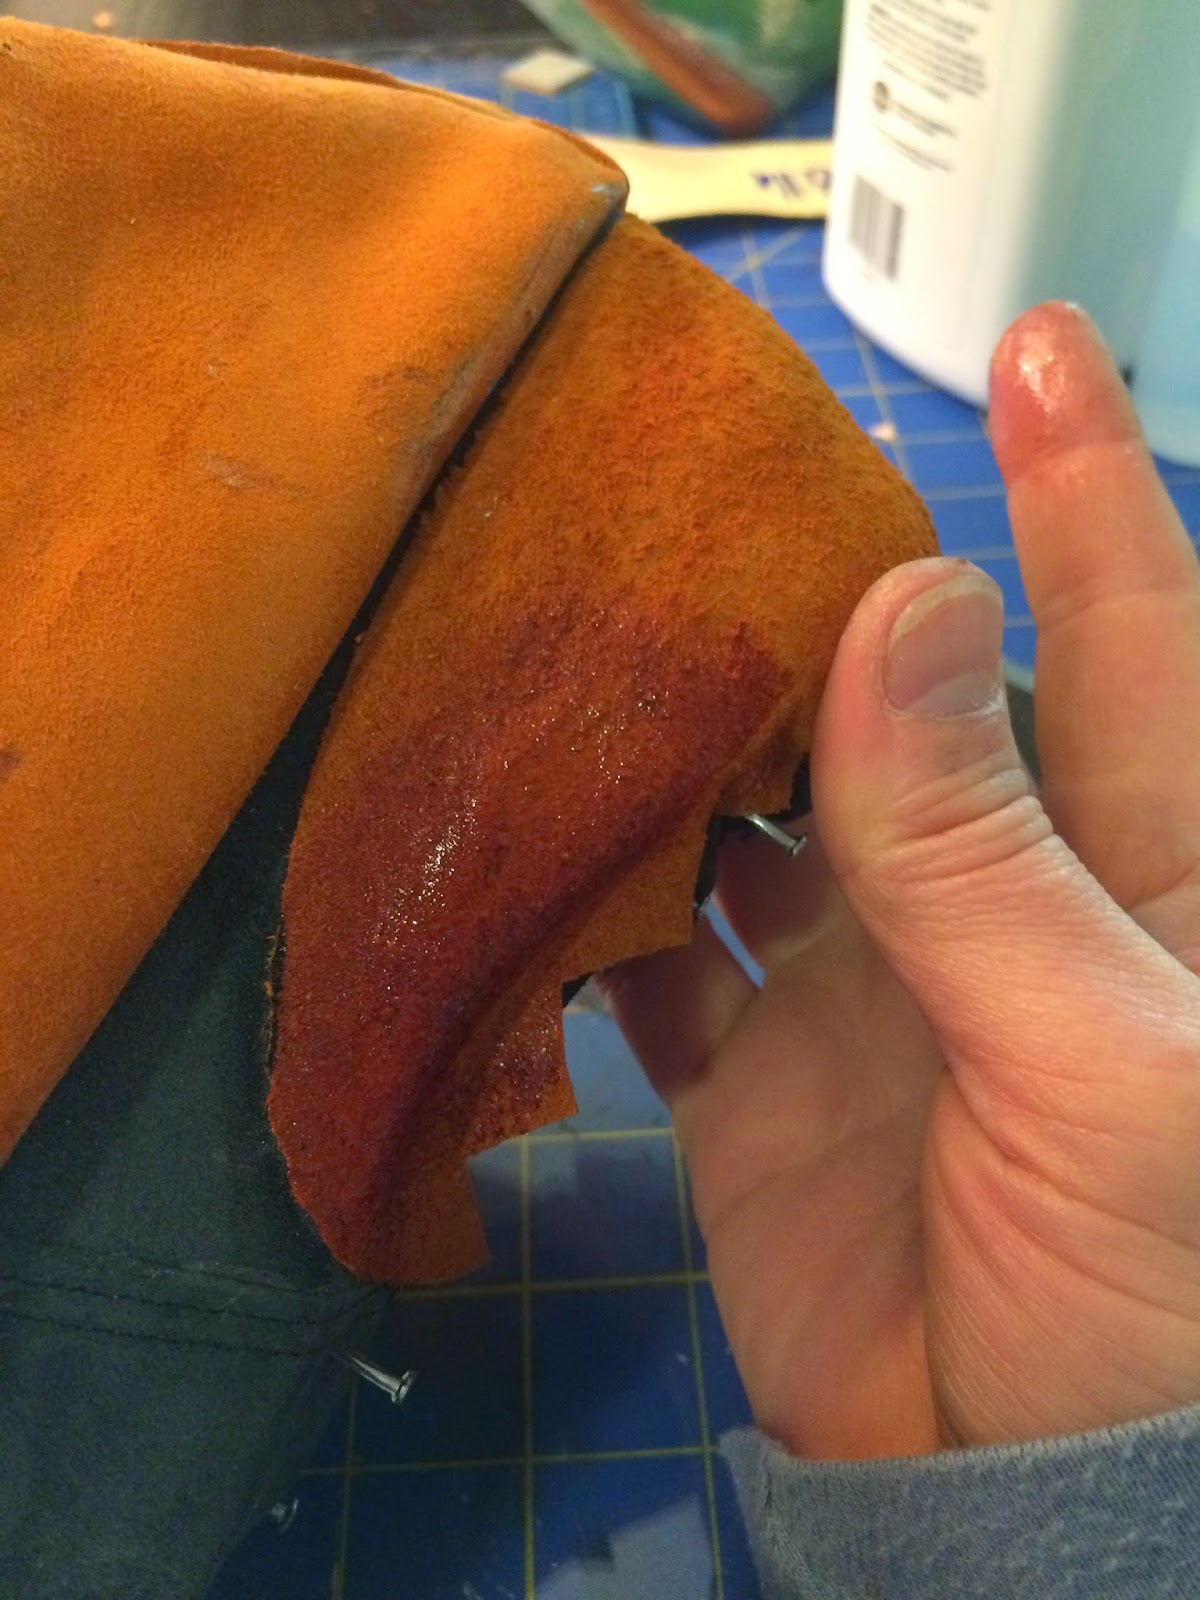
I've had this problem twice now, and now I know the answer. The softer leather I was using, with Hirschkleber, was the wrong thing to use. The much stiffer leather we used in class had been wet down and was really floppy when we inserted it - so I thought that the stiffening came from the glue. Not so! This was one of the big fails on this project, and I'm so irritated I didn't figure it out sooner.
Here's the hot pink piping going around the bottom edge of the shoe as well.

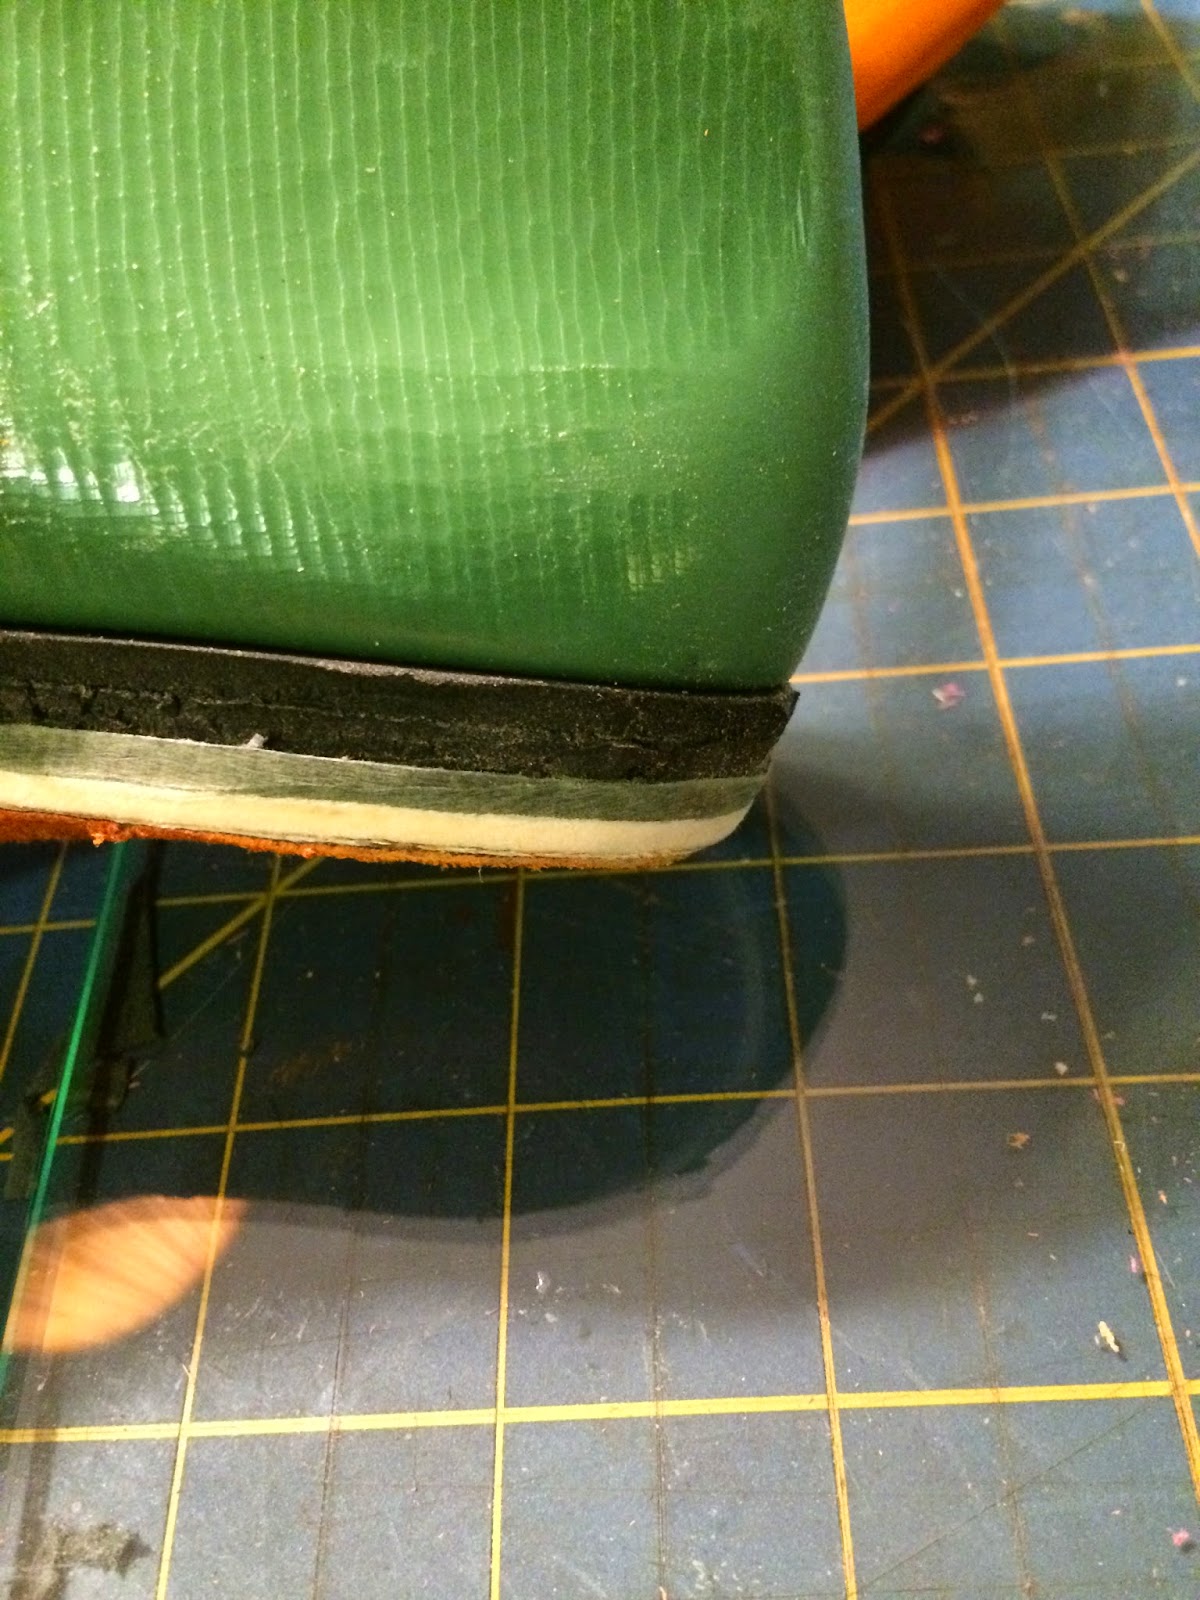
Lasted up, and ready for soles. I'm using a standard rubber soling material here, and as always, stamped my logo into the instep.

Propped up on the heels, to get a feel for how they look.


And - the beauty shot.

Several problems with this one. The worst was the lack of stiffener in the counter. It completely ruined the nice back line of the shoe. I did kludge a solution that will work for me, since they're mine - I tacked some more of the lining leather to the lasts, and made a plastic thermo-molded counter. I just glued this into the inside of the shoe. It helps support the back line of the shoe, and doesn't seem to affect its wearability too much.
More importantly, I wore these around for an evening, and couldn't figure out why my feet hurt so bad. Turns out, I had very inadequate toe spring, and needed to grind down the heels quite a bit farther to make these work. I'm not sure how I always choose heels that are so very much taller than the last would accept - maybe my insoles are thicker than I realize?
The only other problem was that I turned over the center strap too far on one of the shoes. It made the ankle strap pull poorly, and threw off the design quite a bit.
In all, though, I'm very pleased with these. I think my skills are improving, and I can't wait to take the boot class this summer.