It was a quick project, and he says it all so much better, but here's a couple of pictures of the shoes I made following the instructions on the DVD:
In January of 2014, I took a week long class on making women's pumps. Here you will find the ongoing chronicle of my shoe projects - the successes, the failures, the experiments. Occasionally, if I'm not working on shoes, I may also show some of my other art or craft projects here. Comments and questions welcome!
Showing posts with label Shoes. Show all posts
Monday, July 3, 2017
Scandanavian Turnshoes - a quickie
I backed the kickstarter for Jason Hovatter's instructional DVD to make scandanavian turnshoes. (DVD is also available on Amazon.)
It was a quick project, and he says it all so much better, but here's a couple of pictures of the shoes I made following the instructions on the DVD:
Pretty comfortable, but I should add another layer of the goop sole for more cushioning. The DVD is great - really easy to follow all the steps, and these went pretty quick.
It was a quick project, and he says it all so much better, but here's a couple of pictures of the shoes I made following the instructions on the DVD:
Shoe School! Laughing Crowe and Internal Stitchdown
Finally - another shoe post!
In late April, I made it to Portland to study with Jason Hovatter at Laughing Crowe. Jason does a variety of non-lasted shoe techniques, and is a real innovator and super nice guy. I met him at the footwear makers' symposium last June, and was very excited to take his class. Lucky me, nobody else signed up for that session, so I got a *private* class!
This is his own construction method, that he invented. Sort of like a stitchdown, it turns the upper to the inside, instead of the outside. Here's what we did in class....
Casting the foot in duct tape, and drawing the design:
At this point, the shoes were soaked in water and given some vigorous shaping, and put in a dehydrator to dry back out. Then, I added a layer of foam, for cushion, and a purchased sole. Those were then trimmed, and laces added.
This is his own construction method, that he invented. Sort of like a stitchdown, it turns the upper to the inside, instead of the outside. Here's what we did in class....
Casting the foot in duct tape, and drawing the design:
Making patterns:
Cutting the insole and making channels for the stitching, and punching the stitchig holes themselves
:
Cutting, skiving, punching and sewing the uppers; adding reinforcement where needed:
Stitching the uppers to the insole:
These are pretty comfortable. I think there's still room for tinkering, to get the super comfy walking shoe I'm looking for in the long run. But these are a huge step in that direction!
Tuesday, April 19, 2016
Giant Squid Sandals
Specifically requested to go with a costume:
Shannon wanted some sandals, like my purple octopus sandals, to wear with her Giant Squid costume at Norwescon. We made a few key changes to the design - most importantly shortening the ankle strap, omitting the toe loop, and adding both an arch cookie and anchor straps at the back.
To give a bit of an idea of how the pattern comes together, we started by wrapping Shannon's foot in some quilters cotton I had laying around, then covered it with masking tape. A sharpie made the design we wanted:
Here's how the pieces looked with the crystals, and slotted through the insoles.
Stitched the pieces of the straps together....
Then glued the upper to the sole.
The edge was pretty rough, but that was ok, since I was going to sand it smooth on my sander anyway. Added a couple of heel lifts:
And made it all smooth and pretty, with the sander.
Dyed the insole and the sides of the soles, and we were done!
Shannon wanted some sandals, like my purple octopus sandals, to wear with her Giant Squid costume at Norwescon. We made a few key changes to the design - most importantly shortening the ankle strap, omitting the toe loop, and adding both an arch cookie and anchor straps at the back.
To give a bit of an idea of how the pattern comes together, we started by wrapping Shannon's foot in some quilters cotton I had laying around, then covered it with masking tape. A sharpie made the design we wanted:
Which was used to make the paper pattern pieces.
We traced the sole of a pair of sandals she had (and liked the fit of) for the insole pattern. The insole was cut from 7oz veg-tan leather.
And the straps from 3oz veg tan. The straps were tooled, and holes punched for crystal rivets. Turns out, Tandy was discontinuing the green crystals, so I had to get them shipped in from California.
All the pieces were dyed green.
And I gave Shannon the choice of three different buckles I had in stock:
At this point, we did a fitting. I taped together the(undyed) insoles, green straps (cut extra long), arch cookies, soles, and heel lifts with masking tape to sort-of hold them all together, and she put them on. That allowed us to adjust the placement of the cookie, adjust the straps for better fit, and cut the ankle straps to the correct length.
For the soles, I used sole bend (very thick, hard leather - I cut it with my jig saw). Made an arch cookie out of EVA foam, and inserted a thin foam layer as well.
Stitched the pieces of the straps together....
And put the tabs through the slots.
In the thin foam, I cut channels, so that the tabs wouldn't make bumps under the foot (as much).
Then glued the upper to the sole.
The edge was pretty rough, but that was ok, since I was going to sand it smooth on my sander anyway. Added a couple of heel lifts:
And made it all smooth and pretty, with the sander.
Dyed the insole and the sides of the soles, and we were done!
Tuesday, September 29, 2015
Proper photos are important!
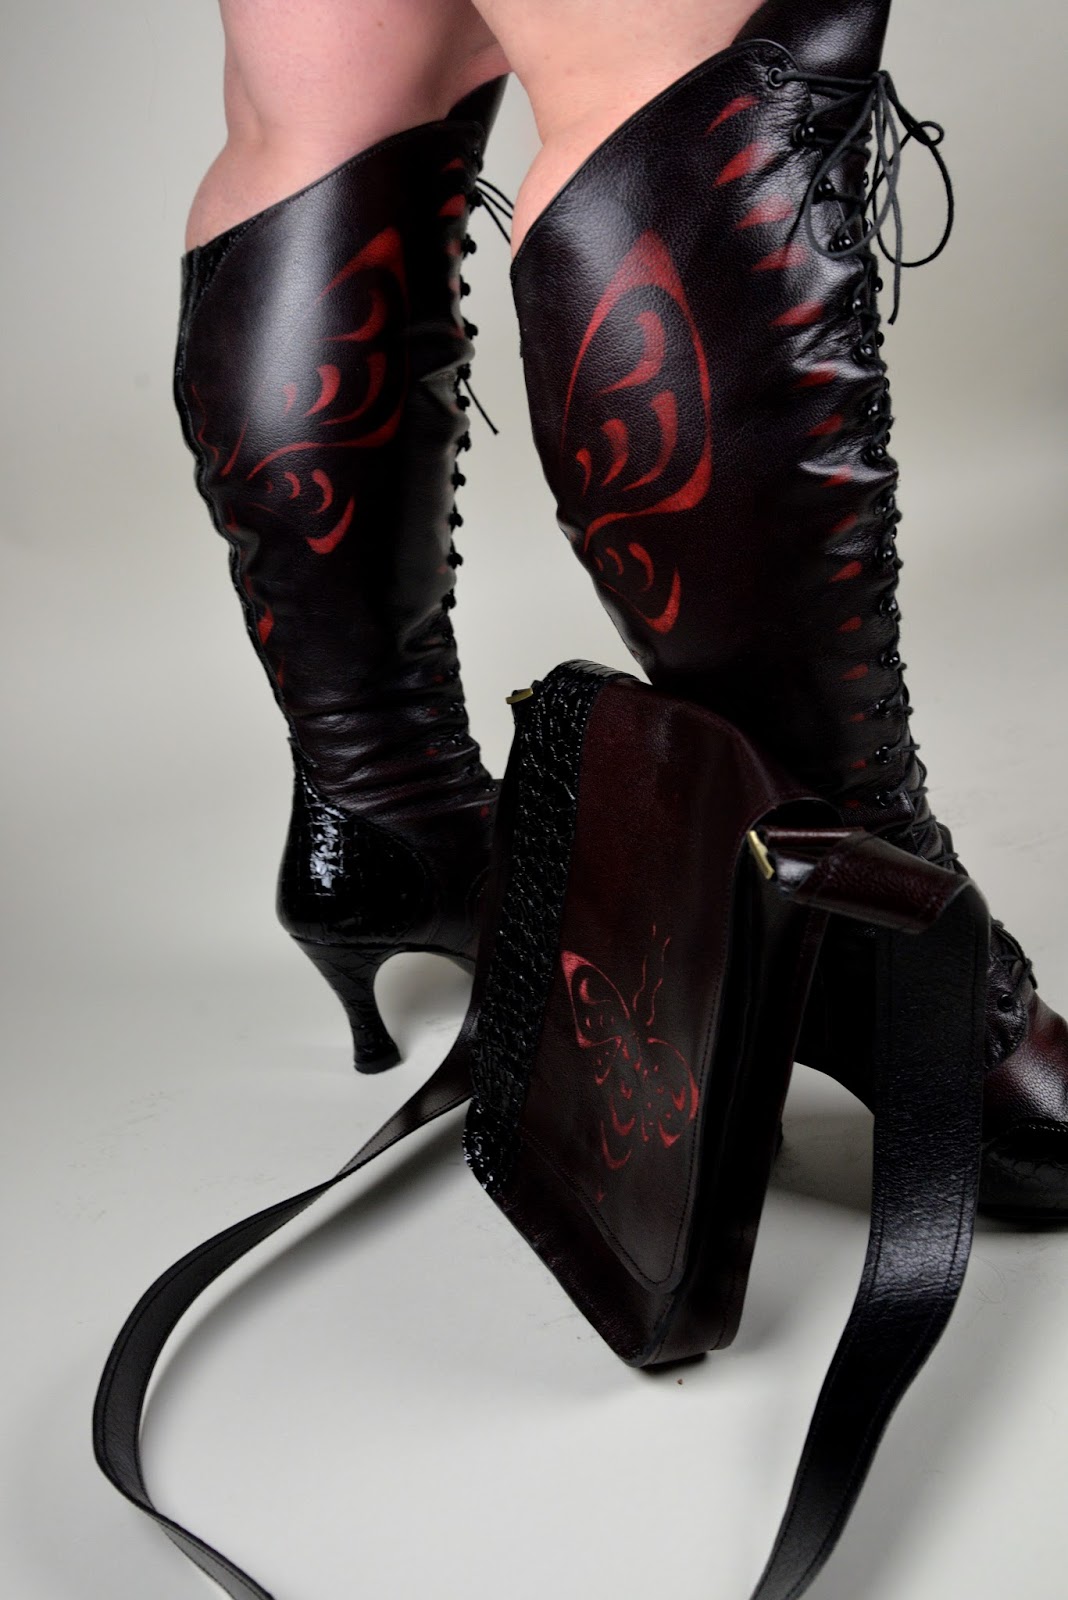
Finally, I have good photos of some of the finished projects lately! I think that the importance of having good pictures of your work can't be overstated. And I have to say - I'm just thrilled with how these came out.
All photos, with the exception of the two with Julie Bonney's copyright on them, are by Austin Lang. While I do well enough with product shots of my shoes, occasionally enlisting the assistance of a professional is warranted. Julie Bonney is part of the Bonney and Wills Shoe School, and took these two photos at the end of boot school. Austin Lang is a local (Olympia) photographer who also took the gorgeous cast photos for Tartuffe.
When I do take my own photos of finished shoes, I usually try to go somewhere outside, in nature. The background is nice, and the lighting is generally pretty safe. For really good product shots, you simply *must* have proper lighting, and know a lot more than I do about photography. Costumes are particularly hard to get good photo of yourself - the difference between a selfie or a snapshot in your living room, and a professionally done photo with a backdrop and good lighting is significant. Austin sure knows how to make me look good!
And yeah, this post is basically just picspam.
Subscribe to:
Posts (Atom)