Every day is like Christmas lately - I've been on an internet buying spree, getting all the tools and supplies to make shoes, and a package arrives almost every day.
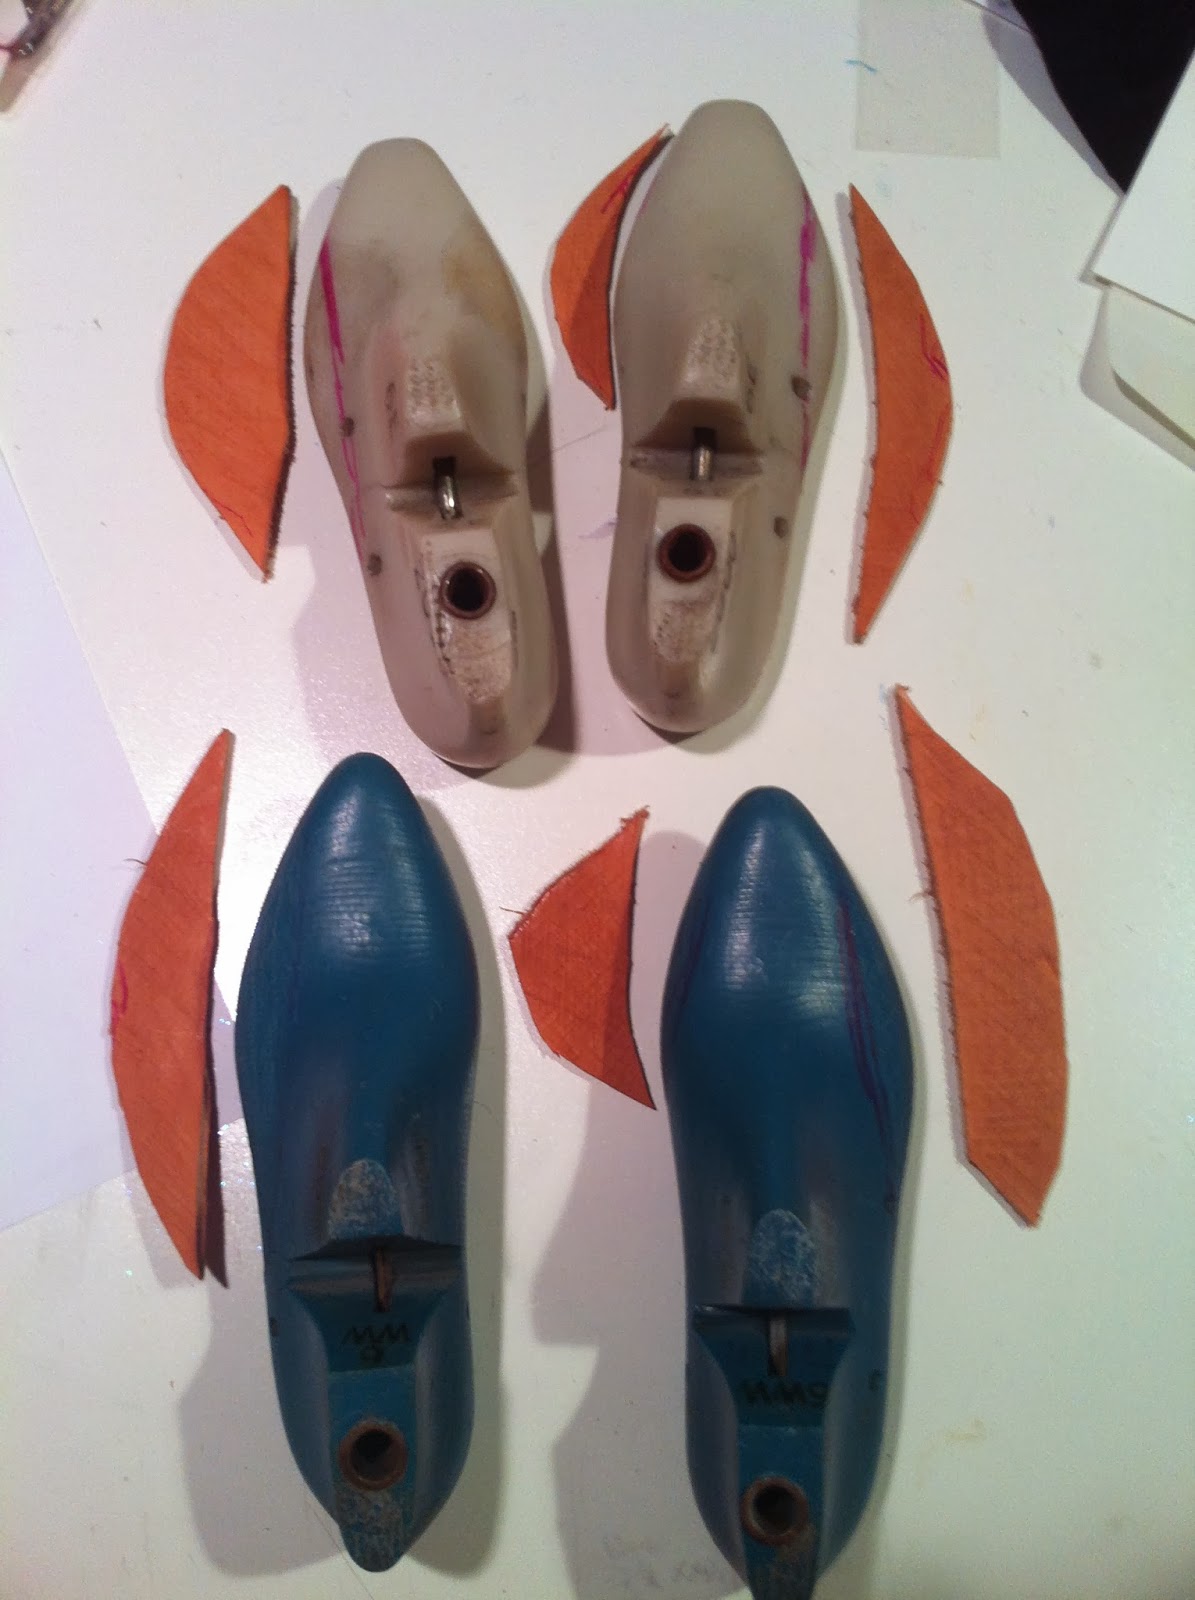
Yesterday, I received my order from Shoedo. Celtec (insole material), Shank board, fiberglass shank material, thermo-activated material for making toe boxes, two pairs of used lasts, and six pairs of heels of various heights. Seems she also threw in a sheet of soling material for me, free. Yipee!
So now I can start on my first pair of at-home shoes. I won't go into the process of measuring here - I already had my measurements from class. However, the shoes I made in class were a little small, so I'm buying lasts in a half size larger, and because I have such horribly wide feet, I'm modifying them as well.
These used lasts came with little metal plates on the toes. I don't know why - I can only imagine that there's some machine used in commercial shoemaking that needs it this way. Some of the lasts at Shoe School had metal plates on the heels, as well. Making shoes by hand, you have to be able to nail into the last all the way around the sole, so the metal plates have to go.
I pried them off, and will be replacing them with some leather. Also, the places where I need a little more width across the sole, I'll be adding some leather there as well. First step - a highly technical process that might be called, "scraping the hell out of the leather and the part of the last you want to glue it to". Then I applied contact cement (Duall 88, purchased from Manhattan Wardrobe Supply. Interesting selection of stuff there.) to both the leather and the last, and let it dry for 15 minutes or so.
Stuck the leather on the lasts, and let it sit overnight to bond all the way.
Today, I'll carve down the leather a bit, and clean the garage so there's a place to put the belt sander I need to purchase today to sand down the edges of the leather. Unfortunately, that's all the further I can go until I receive the press cement (also known as Toe Hardener) from Panhandle Leather. I ordered it on Monday, so hopefully it will arrive soon.
Still, it's all so exciting!
In January of 2014, I took a week long class on making women's pumps. Here you will find the ongoing chronicle of my shoe projects - the successes, the failures, the experiments. Occasionally, if I'm not working on shoes, I may also show some of my other art or craft projects here. Comments and questions welcome!
Friday, January 31, 2014
Thursday, January 30, 2014
New Blog, New Shoes
I have wide feet. My shoe size is 6WW, which most shoe manufacturers don't bother with, especially for the really fun shoes. So for years now, I've wanted to learn how to make my own.
Earlier this month, I spent a week in Ashland, Oregon, learning to make women's high heeled fashion pumps from Bill Shanor at Bonney and Wills Shoe School. It was an azmazing experience, and at the end of it, I had made these shoes:
I can't wait to make the next pair of shoes. And the pair after that.
So I'm starting a new blog, all about the shoe-making process. I might sometimes post other things I make here - but this blog is all for the things I make. Welcome!
Subscribe to:
Comments (Atom)


